
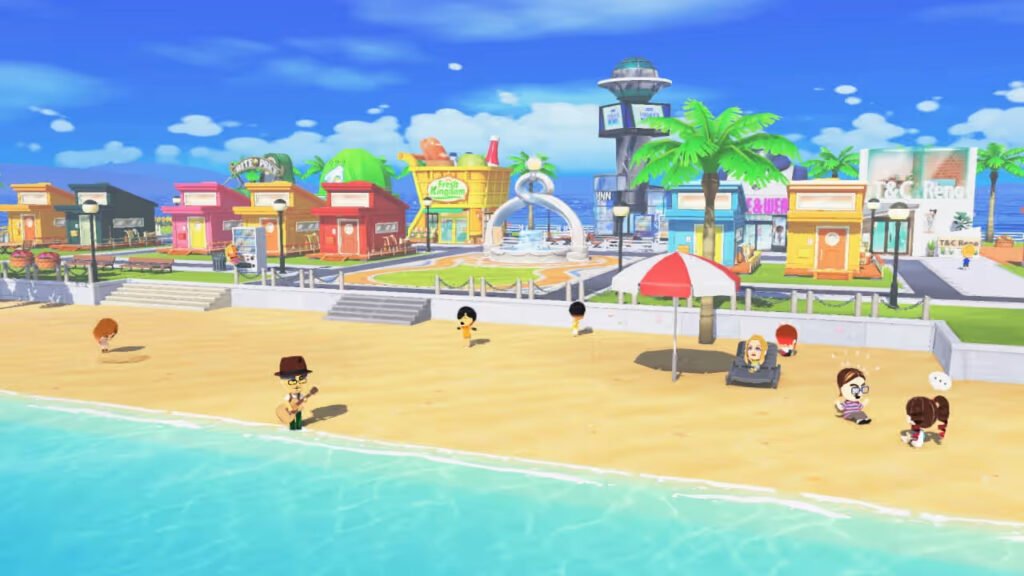
After more than a decade, Nintendo’s quirky life simulator is back. Tomodachi Life: Living The Dream is ready to bring chaos and confusion to your Mii’s lives in one of 2026’s most anticipated cozy games.
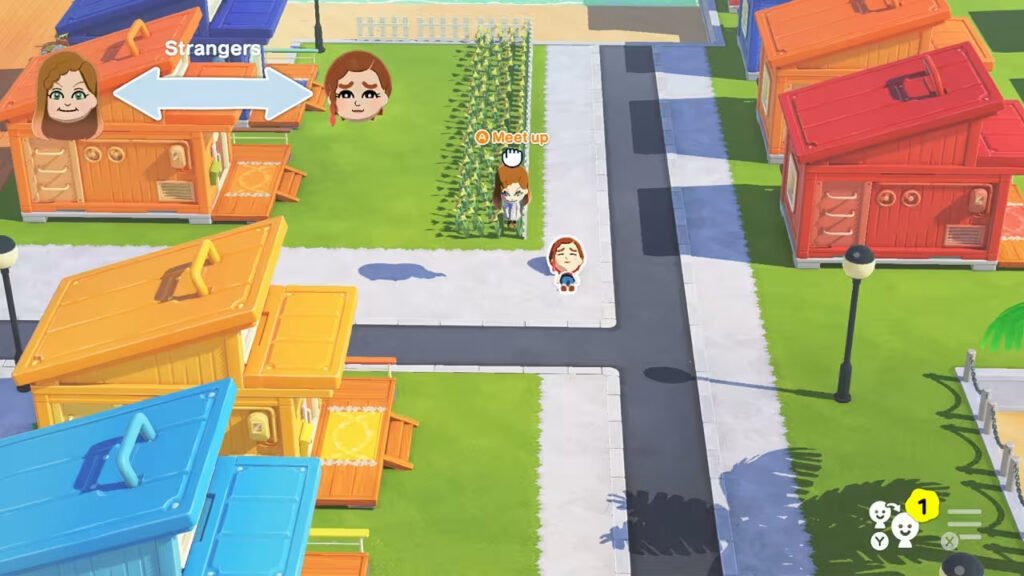
So much chaos, in fact, that Nintendo has put guardrails in place to restrict the sharing of screenshots and videos from the game. Although you can still take any screencaps or videos that you want using your Switch or Switch 2’s built-in software, you won’t be able to directly share them on your social media. In turn, getting them off your console is pretty tricky.
Thankfully, there are a couple of workarounds – for now, at least. You just need to have a couple of pieces of extra hardware available and a little bit of patience.
You can use a Micro SD card to manage your Switch screenshots

One of the easiest ways of accessing your Tomodachi Life screenshots and videos is through an SD card. You can use a Micro SD card in your Switch, Switch Lite, or Switch 2 as a type of mountable data storage. That means you can use it to store data – including screenshots or recordings.
Make sure you have a Micro SD card inserted into your console using the designated port. Then, you can manage your console’s settings so that screenshots are saved to it automatically, or transfer any pre-existing captures to the card. After that, you can load it onto your PC or Mac using an adapter.
How to save Switch screenshots directly to a Micro SD card by default
Setting your Micro SD card as the default location for your Switch’s screenshots is easy:
- Pull up the home menu by pressing the Home button on your Joy-Con. It looks like a house.
- Head to System Settings. It’s shown with a cog icon.
- Navigate to Data Management by scrolling through the column on the left-hand side.
- Select Data Management by hitting A or scrolling to the right, then select Manage Screenshots and Videos.
- Select Save Destination by pressing A, then select the Micro SD card option.
Any screencaps you take in-game will now automatically save to the mounted Micro SD.
How to transfer Switch screenshots to a Micro SD
You also have the option of transferring any screenshots that are already saved to your Micro SD. It’s also a pretty easy process:
- Open up your System Settings and head to Data Management again.
- Scroll until you see Manage Screenshots and Videos.
- Select it, scroll to Manage Individuals Images and Videos, and press A.
- Select whichever image you wish to transfer and press A to open the Posting and Editing menu.
- Navigate to copy and press A. This should bring up a textbox offering you the option of copying it to your Micro SD card if it’s stored on your system memory, or vice versa.
- Press A to confirm.
You can rinse and repeat for any screenshots you want access to later. You can also filter your screenshots to show only images from Tomodachi Life by hitting the Y button, then selecting it from the menu.
Your Switch can connect to your computer using a USB-C cable
Another option for transferring your Tomodachi Life: Living The Dream captures is to connect your console to your PC or Mac via a USB-C cable. You’ll need a USB-C to USB-A or USB-C cable for this one.
Plug the cable into both your computer and your console. Then, grab your Switch and:
- Head over to System Settings via the Home Menu.
- Open up Data Management.
- Navigate to and select Manage Screenshots and Videos.
- Scroll to Copy to PC via USB Connection and select it.
Now your Switch should act the same as any other connected device, such as a phone or camera. You should be able to see it when you open up your computer’s file explorer. From there, you can open up individual folders of screenshots from each game on your device.
This is the best option for transferring a lot of files at once, since you can copy the contents of the entire folder. You can also transfer video captures easily this way.
A capture card could also be helpful
So long as you aren’t playing on a Switch Lite, then you have one more option for grabbing footage from Tomodachi Life. You just need to use a capture card and a few cables.
If you’ve ever streamed from your Switch or Switch 2 before, then you might already have this lying around. But, if not, you can easily pick up capture cards online for as little as $30.
Capture cards connect to your Switch or Switch 2 via the HDMI port. You’re going to need to run one HDMI cable between your console and your capture card on one side, and another between your capture card and a monitor or TV. Then, you need to hook your capture card up to your computer using a compatible USB cable.
After you’ve finished setting up your hardware, you can use software like OBS Studio to record your gameplay footage. This is slightly more arduous (and expensive) than grabbing your footage directly from your Switch or Micro SD card, but it does also give you the option of recording longer clips at a time.
Why are screenshots restricted for Tomodachi Life: Living The Dream?
Nintendo shared a statement on one of their support pages explaining why image-sharing capabilities are limited in Tomodachi Life: Living The Dream:
“Nintendo aims to create experiences where players have the freedom to enjoy their Mii characters in their own way. In Tomodachi Life: Living the Dream, this freedom can sometimes lead to humorous, surprising, or unpredictable moments during gameplay.
While these moments are often fun for players, we recognize that out-of-context scenes may be misunderstood or may not reflect the spirit in which the game is intended to be enjoyed.
Nintendo is committed to creating experiences that are welcoming and enjoyable for everyone.
To support this commitment, and in consideration of the unique gameplay in Tomodachi Life: Living the Dream, we have decided to place restrictions on certain image sharing features. These limits help to make the worlds players create in Tomodachi Life: Living the Dream remain fun and safe, and that the game can be enjoyed comfortably by all players.
We understand that some players may find these restrictions limiting. However, they reflect Nintendo’s ongoing philosophy of creating experiences that bring smiles to everyone who plays.”
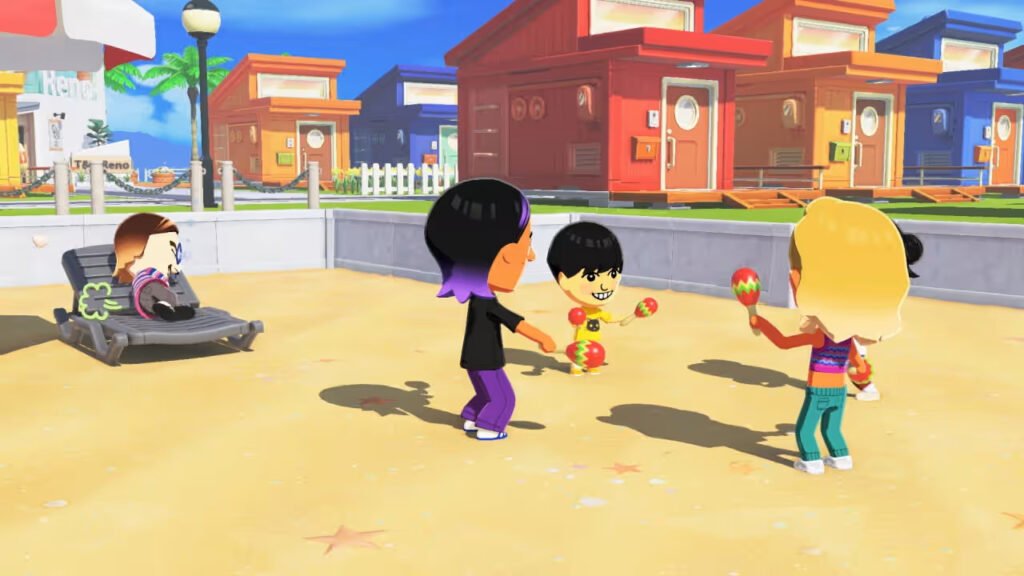
Perhaps surprisingly, Nintendo’s Sims-like can actually get pretty crude rather quickly. In fact, it seems to be totally uncensored, meaning you can make your Miis say basically anything you want. If you make it that way, that is. So, you could speculate that that might be why some limits are placed on the simulator’s image-sharing capabilities.
Thankfully, so far, Nintendo has taken the “let’s make it difficult” route to deter people from sharing any images, rather than the “let’s make it impossible” route.
How to get the Tomodachi Life: Living The Dream demo
You can pick up the demo for Tomodachi Life: Living The Dream – A.K.A. the Welcome Version – from the Nintendo eShop.
Open up the eShop on your Switch or Switch 2 by heading to the Home menu, and search for Tomodachi Life: Living The Dream. Then, instead of pre-ordering or buying it, navigate to the Download Demo button.
Does your Tomodachi Life: Living The Dream Welcome Version save data carry over to the full version?
Yes! No need to worry about losing any save data if or when you switch over to Living The Dream’s full release later. All of your progress will be carried over, including your Miis and island.