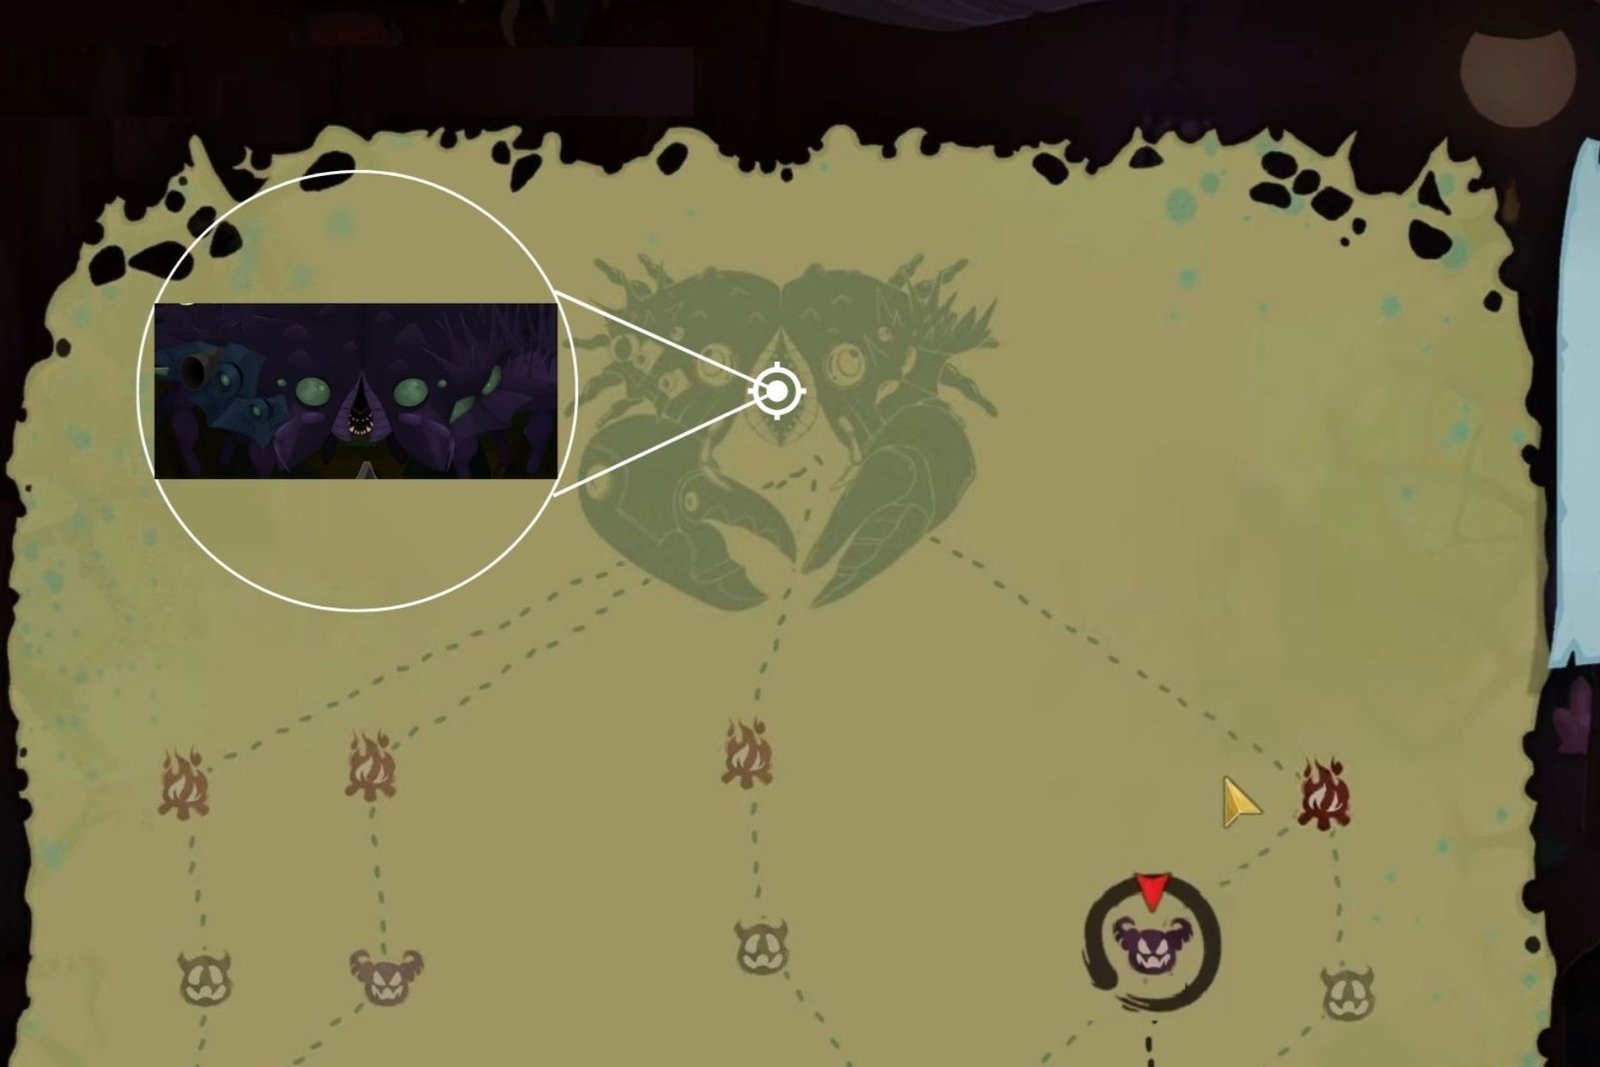
Kaiser Crab is one of the best-looking bosses in Slay the Spire 2. It’s creepy and horrifying, and even defeating it seems to only make it retreat to the shadows, unlike other bosses that simply die.
It’s also the first boss in Slay the Spire 2 that will introduce players to the Surround fight mechanic, something fans of the first game would be most familiar with.
Table of Contents
Attack Pattern
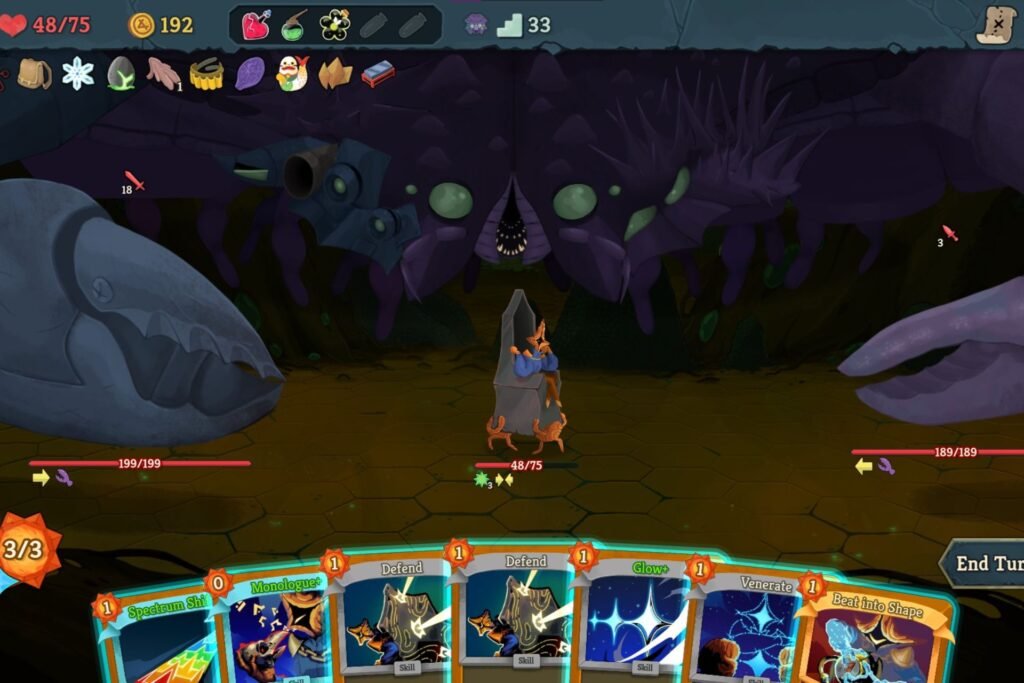
Kaiser Crab has two claws on opposite sides, and with both attacking you at the same time, you have to be mindful of which one you take the hit from.
If you get a hit from the target behind you, you will take 50% more damage. This makes some of its heavy hits chip away half your health, or even one-shot you in some cases.
Turn 1
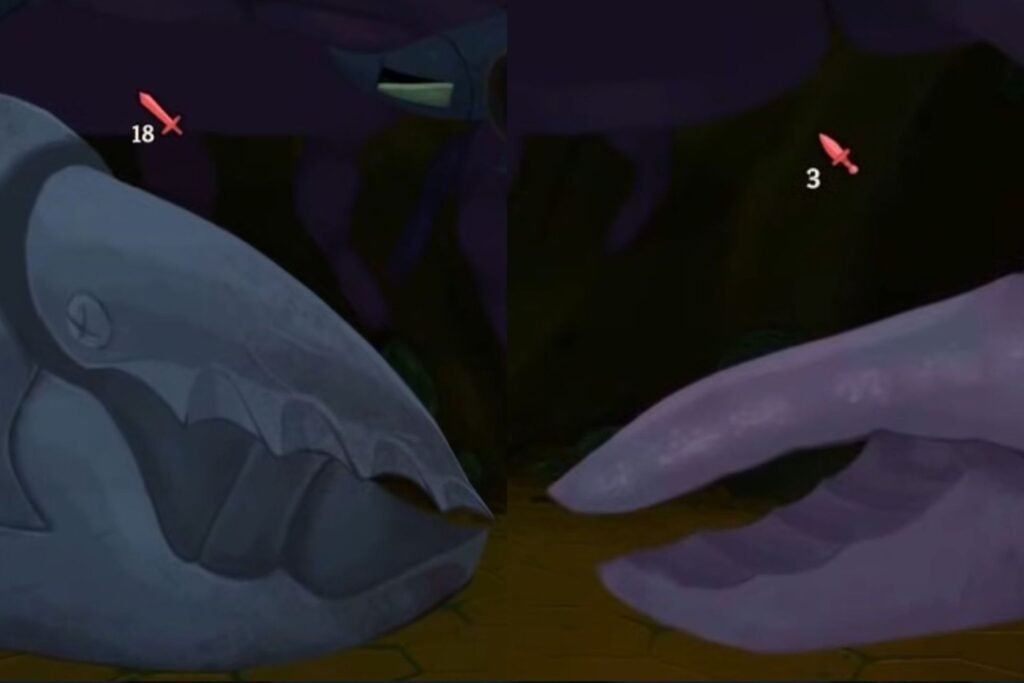
In the first turn, the left side will deal around 10 damage while the right claw does 4. You can block up to 15, deal some damage, and end your turn facing the left claw.
Remember, if you don’t have the Energy to draw cards, you can use potions to change the direction.
Turn 2
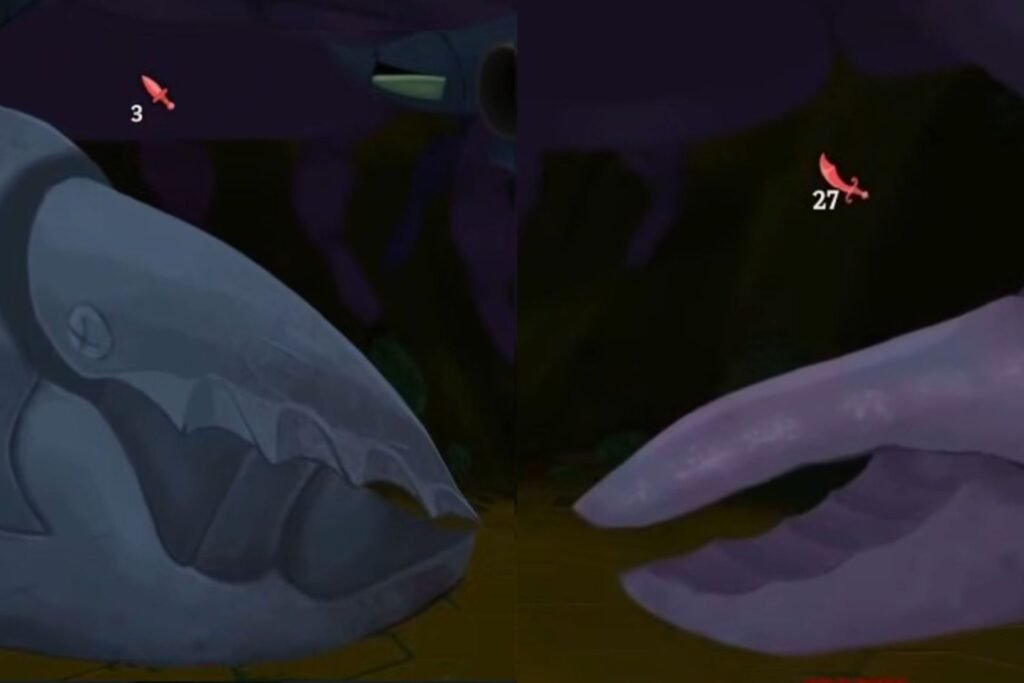
This time, the right claw will deal over 20 damage, while the left one does around 5. You can do the same thing again, but end with you turning on the right claw this time.
Inflicting Weak and Vulnerable on the heavy-hitting claw can also come in handy to reduce its damage output and make your attacks hit harder.
Turn 3
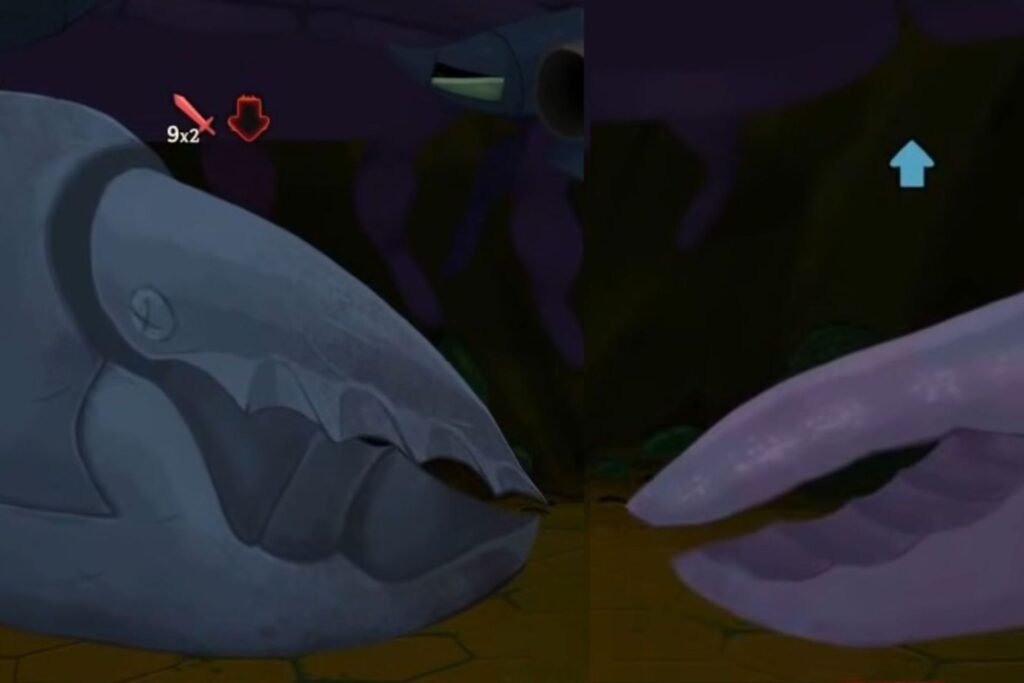
This will be your biggest attack window. The right claw will buff itself with 2 Strength, whereas the left claw will deal two instances of 9 damage and debuff you with 2 Weak and 2 Frail.
You ideally want to take away as much health as possible, so tanking the left claw is a viable option. The target of your attacks can be either of the two, but do try to take down the right claw by Turn 5. Also, end the turn with you facing left.
The right claw will deal massive damage next turn, but it will fall asleep afterwards, while the other will become a bigger threat.
Turn 4
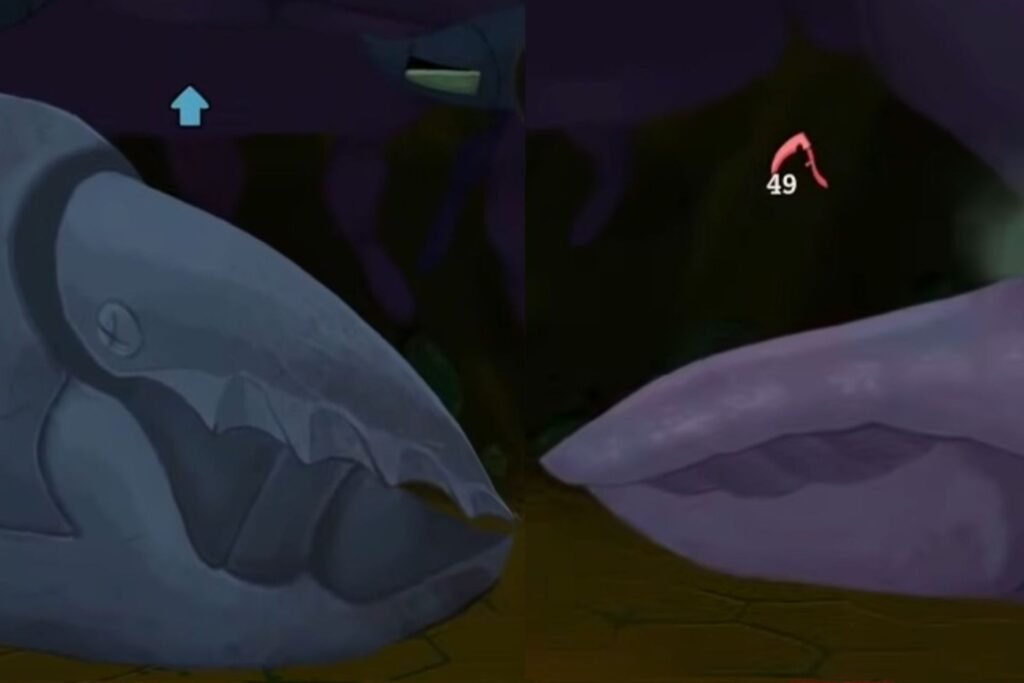
The left claw will buff itself with 2 Strength, while the right will prepare to launch itself on you, dealing 49 damage with your back turned against it, 33 if you face it.
You can focus fire on the left claw and leave a low-cost attack at the end for the right just to reduce its damage output. Of course, blocking the incoming attack will be your top priority.
Turn 5
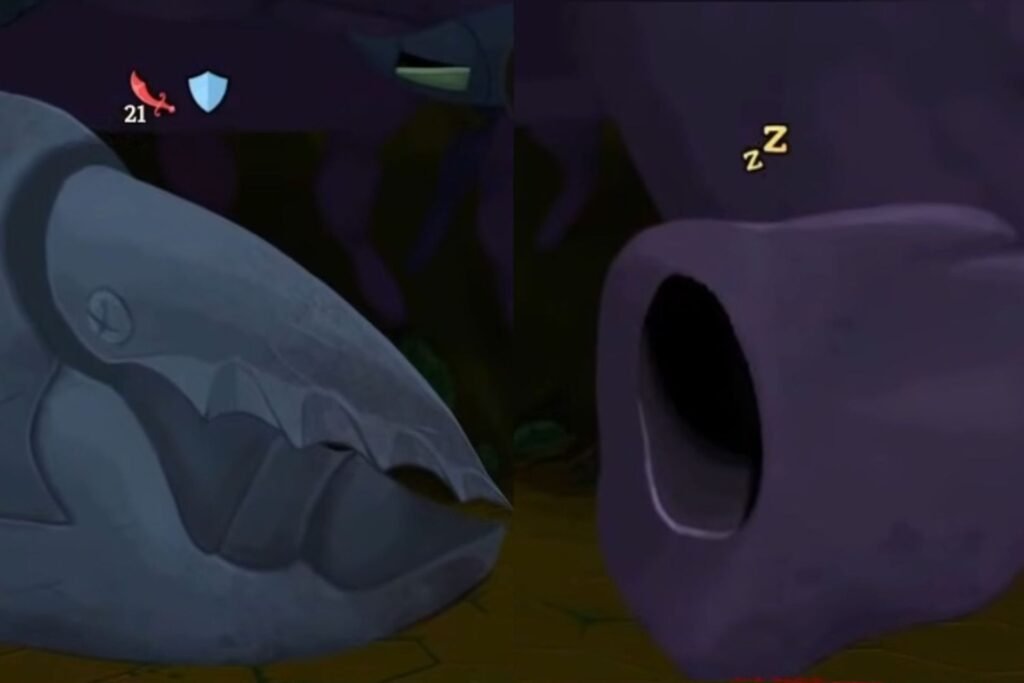
The right claw will do nothing this turn, while the left will deal around 20 damage and shield itself with 18 Block.
We suggest that you try to take the right claw out of the fight this turn or bring it close enough that you can finish it in the next. As soon as you defeat either of the two, the remaining claw will gain 99 Block that turn.
Just make sure you have a block to absorb the impact from the left and face it to reduce damage.
Turn 6
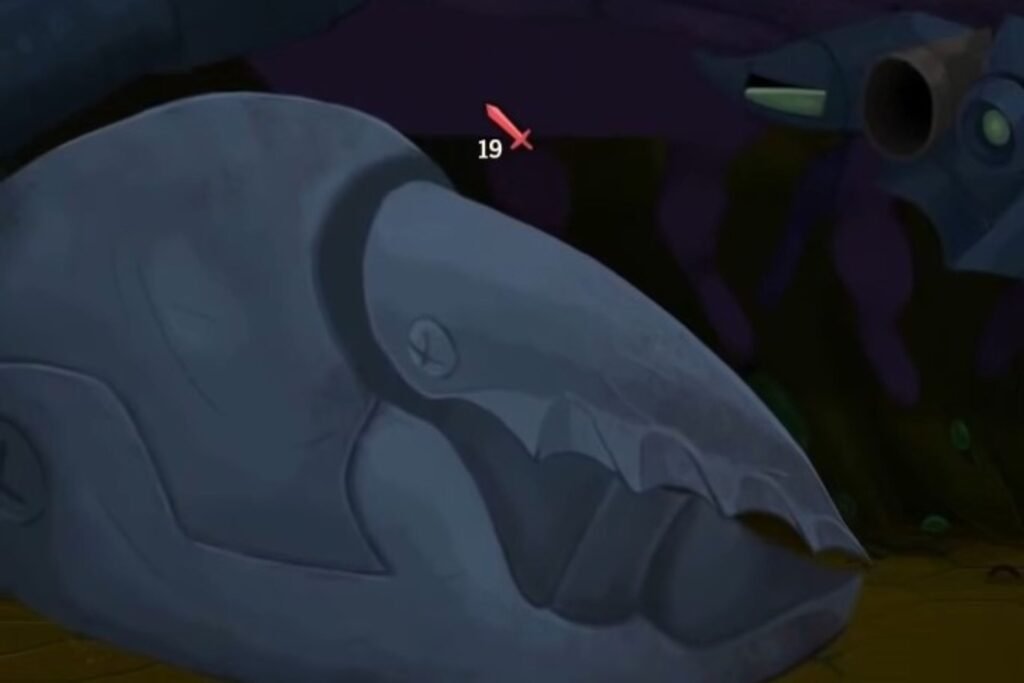
At this point, we will assume you have dealt with the right claw. The left side will now have 7 Strength at this point and deal 19 damage to you.
For a boss fight, 19 is reasonable, so we suggest doing balanced attacks with blocks to get through the fight.
From this point onward, the damage output will remain similar, so too will your strategy. If you have decent attack cards, you should be able to defeat the Kaiser Crab by Turn 7 or 8.
Good Blocks Will Make This Fight Obsolete
There will always be at least one claw attacking you, especially with the nuke attack on Turn 4. So, having good blocks is key in this fight. We found that having consistent block regeneration made the fight a breeze.
Once you have defeated the Kaiser Crab, you will enter the finale, Act 3. It has a few possible boss encounters, each being annoying in its own way.
If you come across them, you can check out our Doormaker boss guide or Test Subject boss guide to prepare for the fight.