It’s a bit chilly right now in Animal Crossing: New Horizons, making it the perfect season to play the Version 3.0 Update and return to your beloved villagers. But checking out the new collaboration items and feature content is the least you can do right now. There’s a winter activity you can do, which is making the perfect Snowboy.
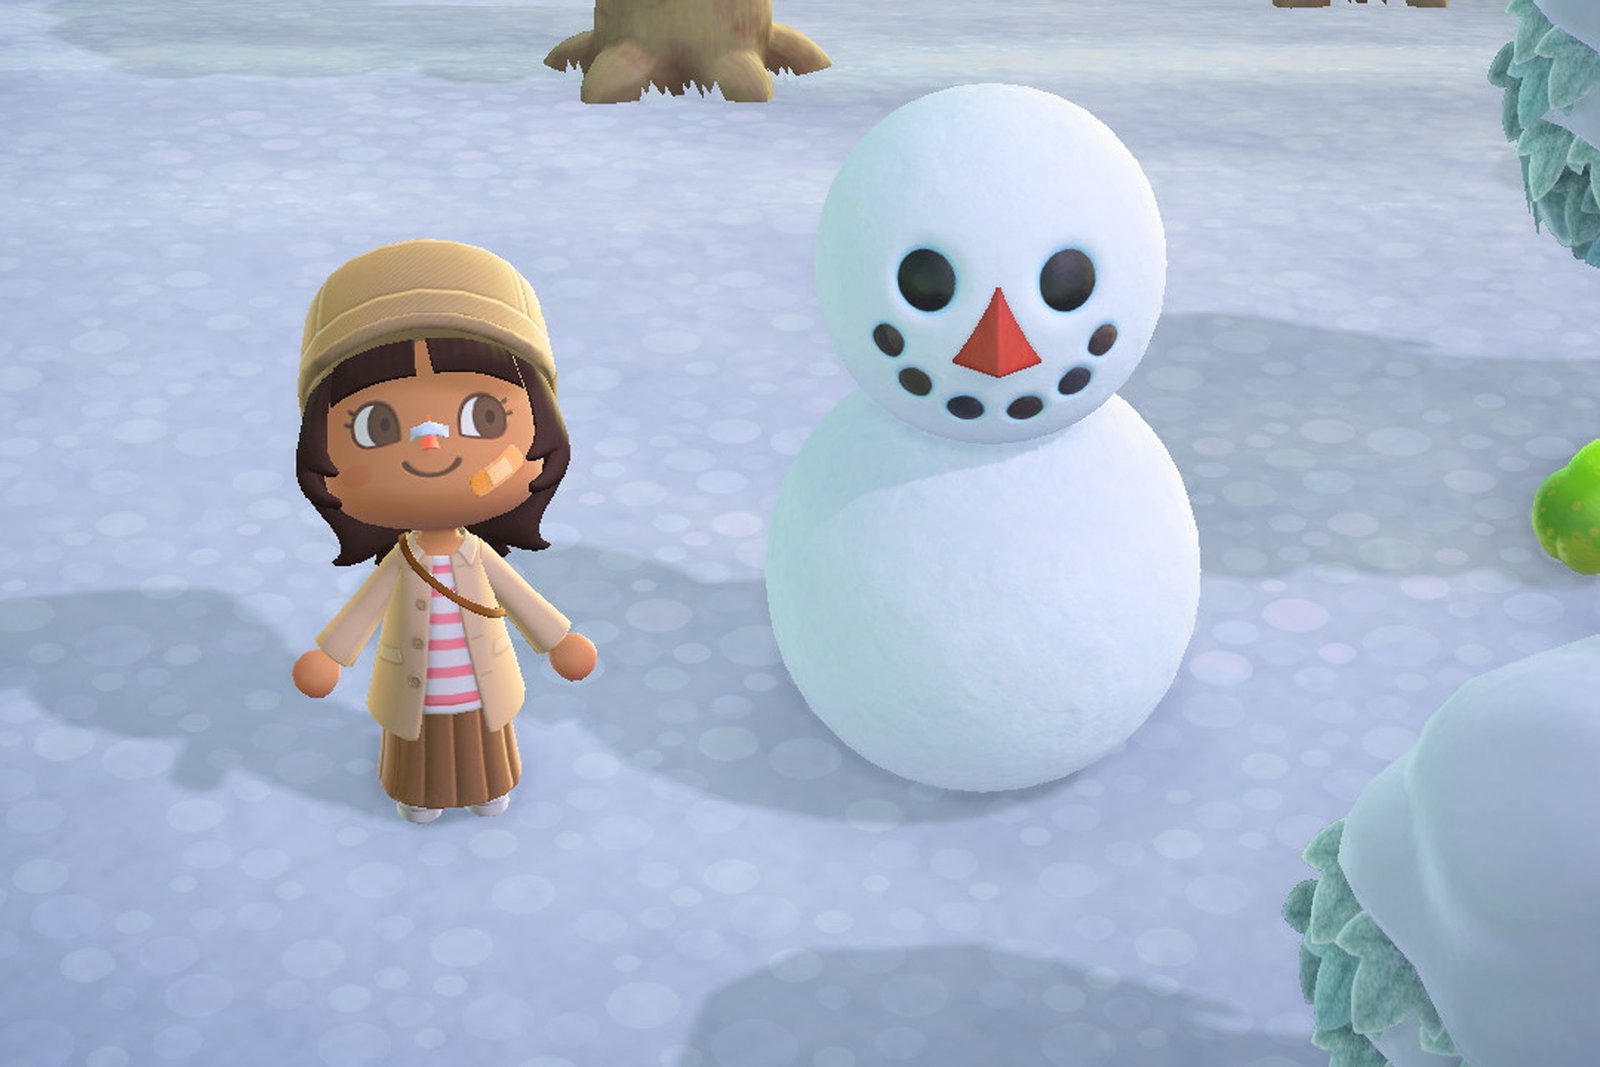
A Snowboy is Animal Crossing’s version of the snowman. Once you master building him right, you’ll be rewarded with some special items that you can use to craft. With that, you can follow along our guide on how to build a perfect Snowboy.
Table of Contents
- How to Build a Regular Snowboy in Animal Crossing: New Horizons
- How to Build a Perfect Snowboy in Animal Crossing: New Horizons
How to Build a Regular Snowboy in Animal Crossing: New Horizons
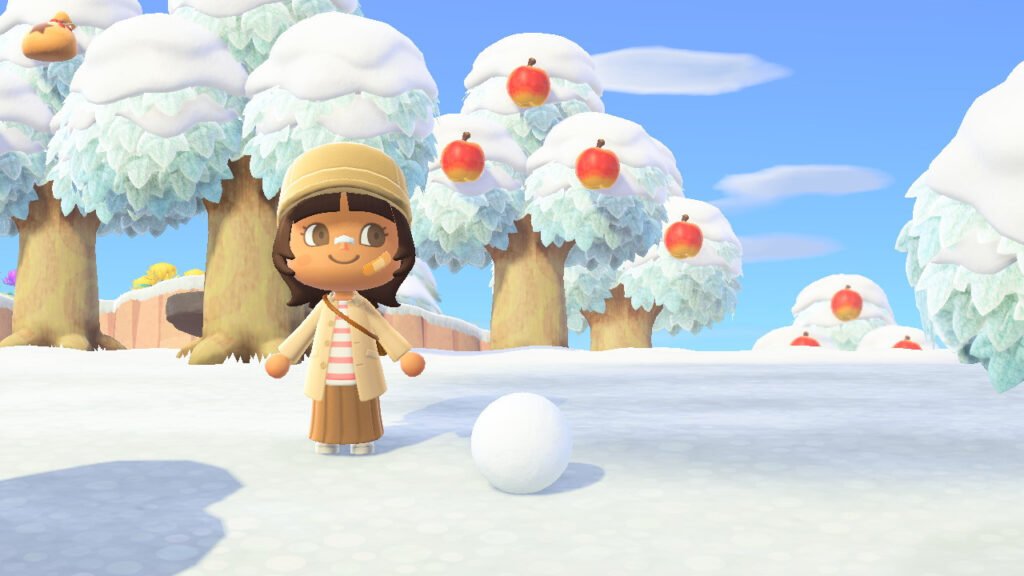
Building the perfect Snowboy starts by finding snowballs around your item. You need two, one for the body and another for the head. Once you find one snowball, the second is pretty much around the area.
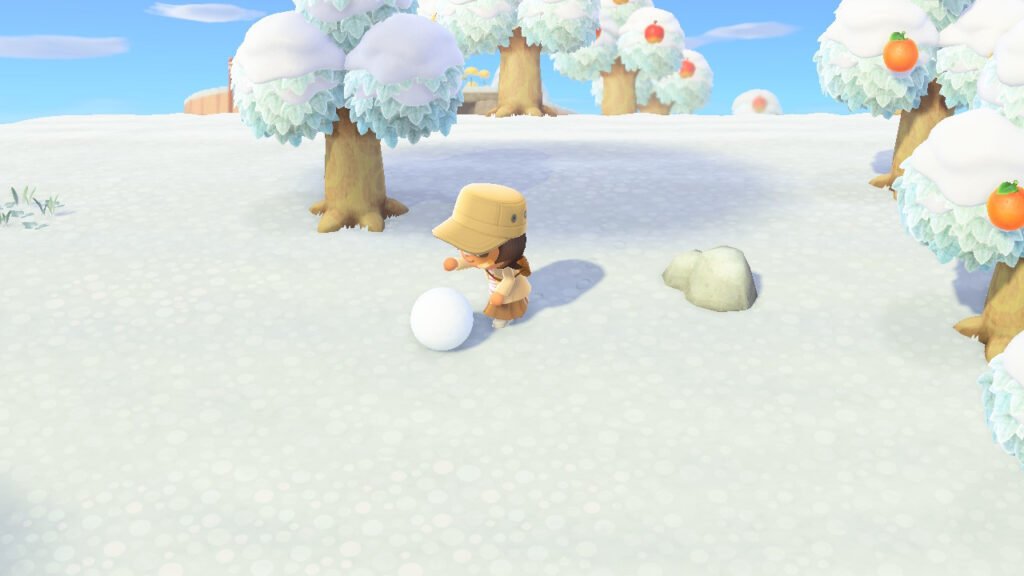
Next, start rolling around your first snowball. This will get bigger and bigger as you roll it on the ground. Be careful, as hitting your snowball on trees and walls can destroy it, and you won’t have the chance anymore to make your Snowboy for the day.
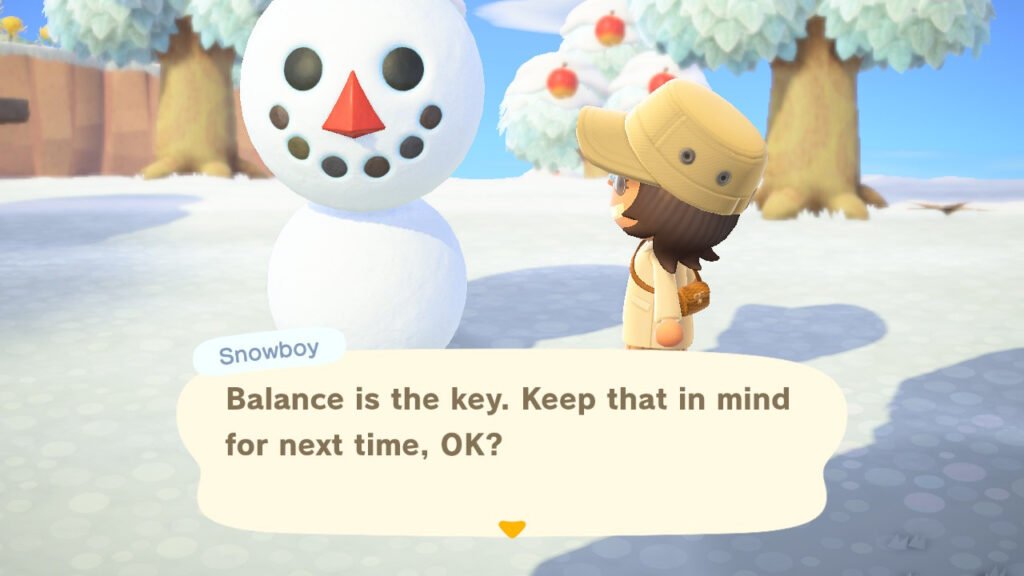
On your first time building a Snowboy, this can be any size. The Snowboy will give you some tips after building him for the first time like this below.
How to Build a Perfect Snowboy in Animal Crossing: New Horizons
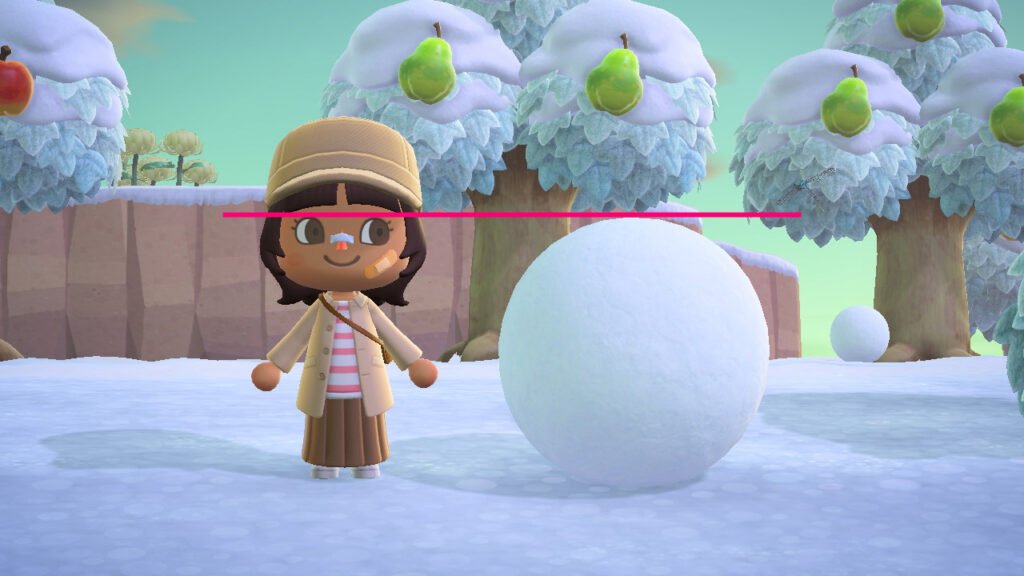
When building the perfect Snowboy, you need to be careful with the sizing of each snowball. Your first snowball should be as high as the top of your eyes. You can use the Camera app on your Nook Phone to check.
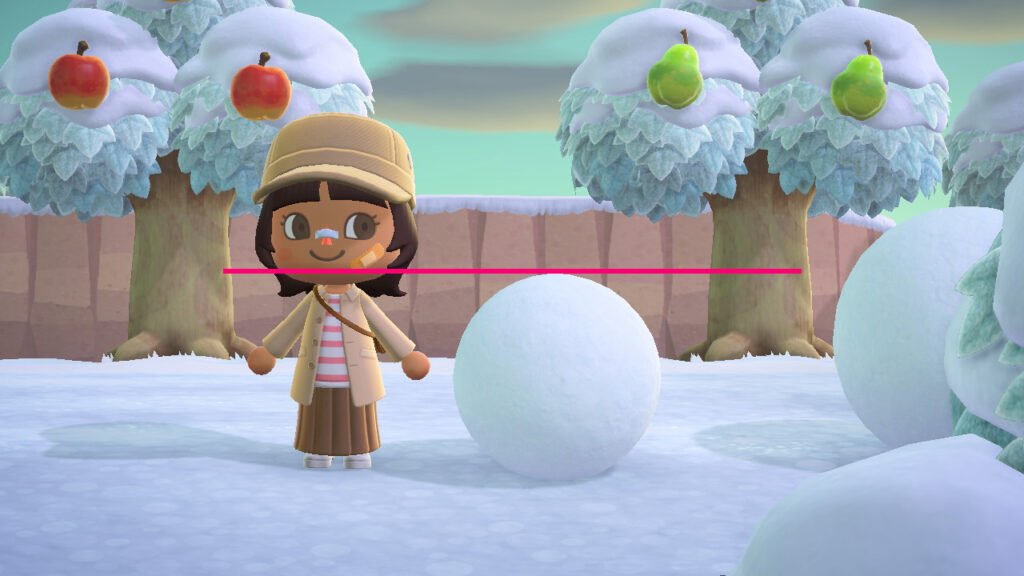
After rolling your first snowball, find the second one and roll it around the area of your first snowball. This will make it easier for you to put both snowballs together later on. The size of the second snowball should have a height reaching just below your character’s mouth.
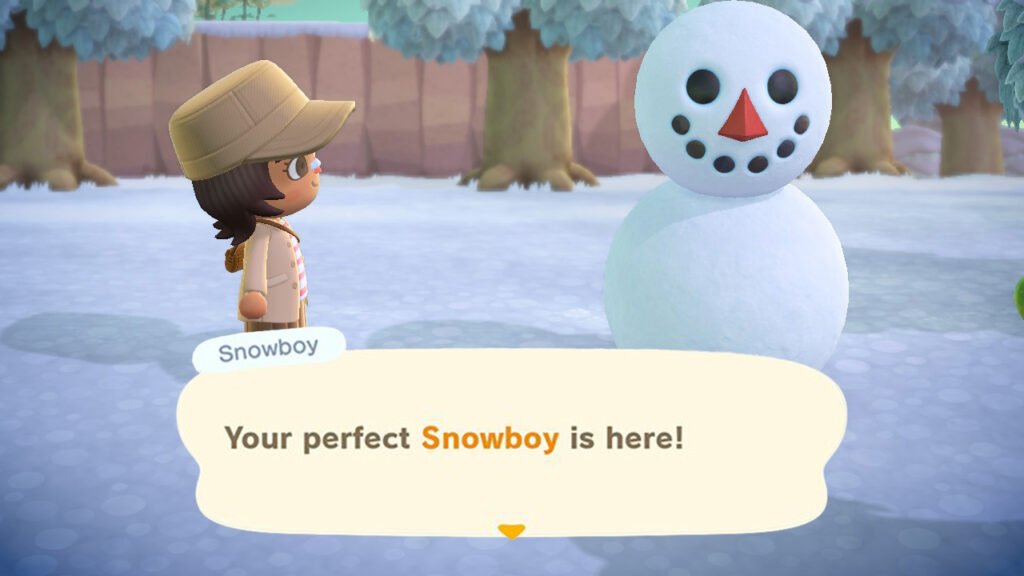
Once both snowballs are ready, push the smaller snowball onto the bigger one. This will then create your Snowboy. Your Snowboy will then evaluate if you’ve made a perfect Snowboy or not.
If it’s perfect, your Snowboy will say, “Your perfect Snowboy is here!”
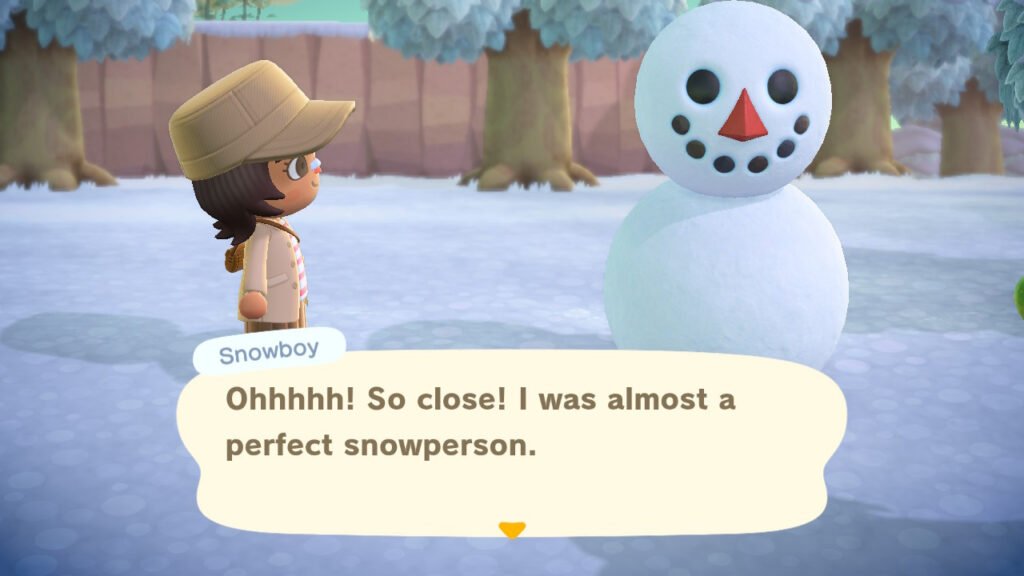
However, if you’re close enough, the Snowboy will instead say, “Ohhhhh! So close!~ I was almost a perfect snowperson.” Even if your Snowboy is a little off, he’ll notice the details.
It takes some practice, but you’ll eventually make a perfect Snowboy. Once you’ve done that, he’ll reward you with a Large Snowflake or a DIY Recipe. Here’s a list of Snowflake DIY Crafting Recipes you can get from receiving a Large Snowflake from your Snowboy. Each recipe requires 1 Large Snowflake alongside a couple of Regular Snowflakes (except for the Ice Wand and Three-tiered Snowperson):
- Frozen Arch – 10 Regular Snowflakes
- Frozen Bed – 10 Regular Snowflakes
- Frozen Chair – 3 Regular Snowflakes
- Frozen Table – 8 Regular Snowflakes
- Frozen Tree – 8 Regular Snowflakes
- Frozen Counter – 5 Regular Snowflakes
- Frozen Mini Snowperson – 2 Regular Snowflakes
- Frozen Partition – 6 Regular Snowflakes
- Frozen Pillar – 3 Regular Snowflakes
- Frozen Sculpture – 4 Regular Snowflakes
- Frozen Treat Set – 1 Regular Snowflake
- Ice Flooring – 8 Regular Snowflakes
- Ice Wall – 8 Regular Snowflakes
- Ice Wand – 3 Star Fragments
- Snowperson Head – 5 Regular Snowflakes
- Three-tiered Snowperson – 6 Regular Snowflakes and 2 Tree Branches
Keep in mind that making Snowboys only lasts from December 11th until around February 24th if you’re in the Northern Hemisphere. But if you’re in the Southern Hemisphere, snow doesn’t start until June 11th to August 24th. So, if you’re experiencing the in-game winter season, practice and take every opportunity to make a Snowboy to get the special DIY Recipes and Large Snowflakes, which you can use to craft winter-themed items.