I do believe the hardest part of Trails games is figuring out the accursed tactical bonus strategy, as it is necessary for two separate trophies. It wasn’t always difficult, but Daybreak 1 and onwards changed how it works, and you can no longer just stack conditions.
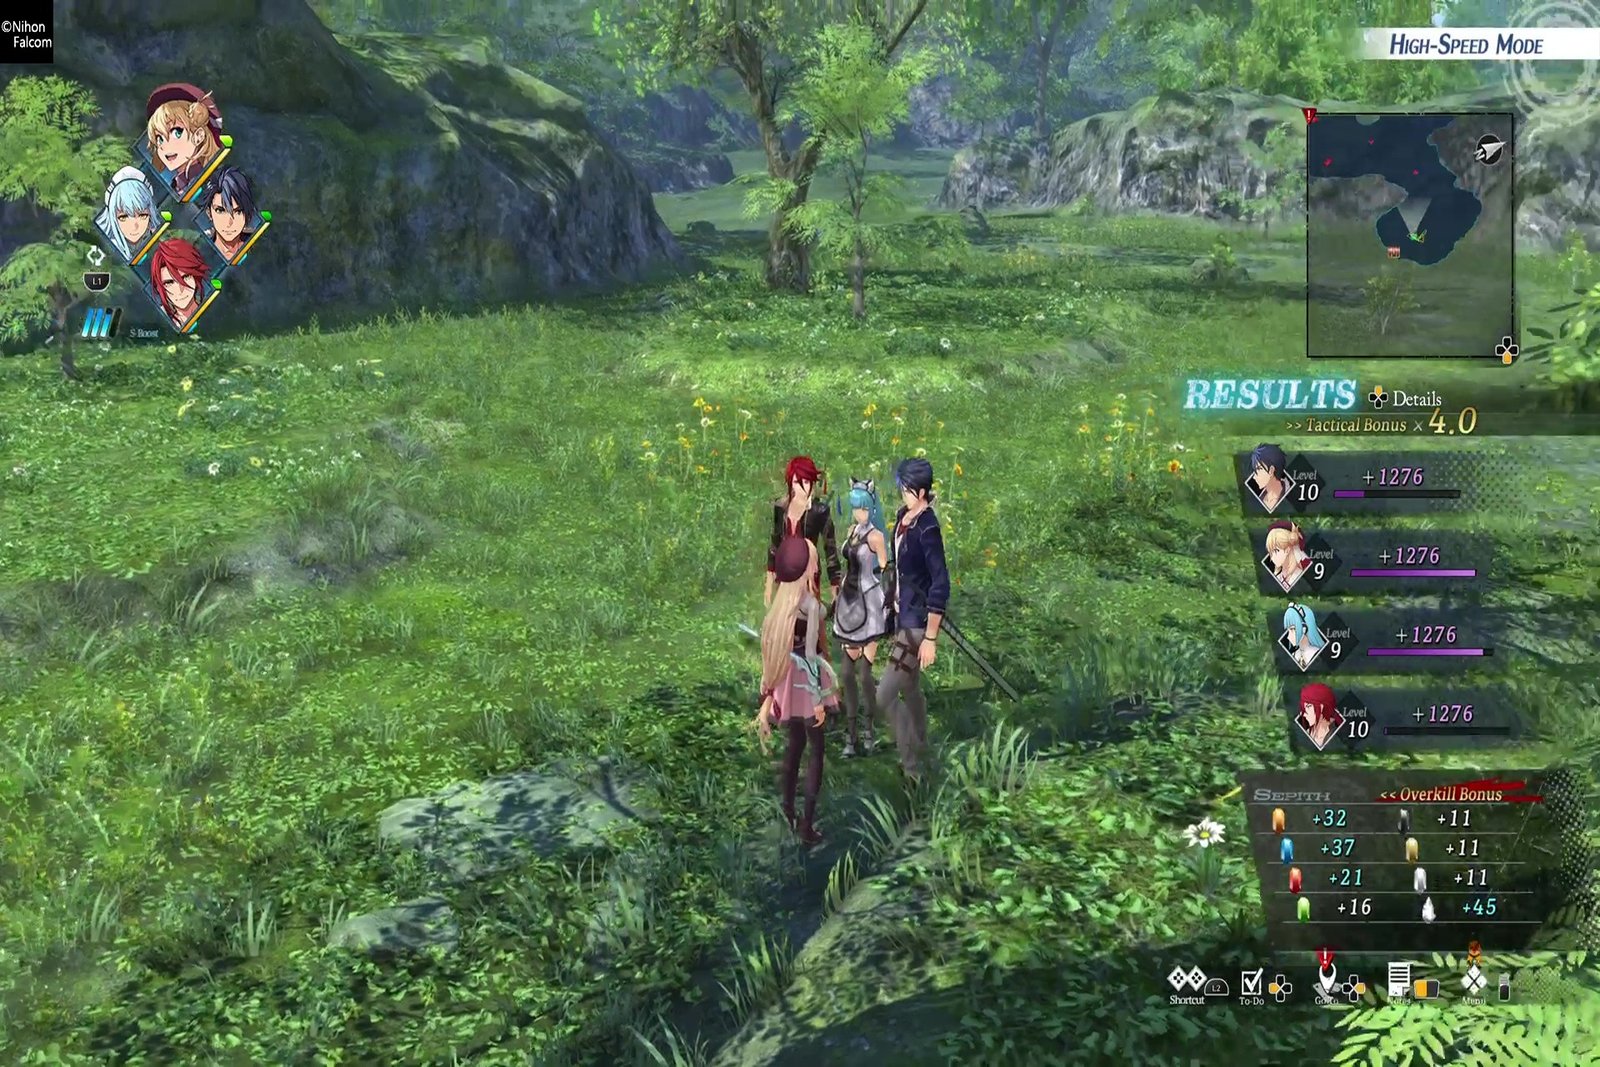
The good news is that Beyond the Horizon has added several new combat mechanics that each contribute to maximizing your tactical bonus if used correctly. This guide will help you get a x4.0, as that is the only requirement, and anything above is completely optional.
Where to Get 4.0 Tactical Bonus in Trails Beyond the Horizon

Early in the story, Arkride Solutions will be sent out to the Western Outskirts of Edith to check on two missing Bracers. The area you’ll want to focus on is this somewhat isolated area off to the left of your starting spot. There are nine enemies, and it shouldn’t be any trouble to gather them all.
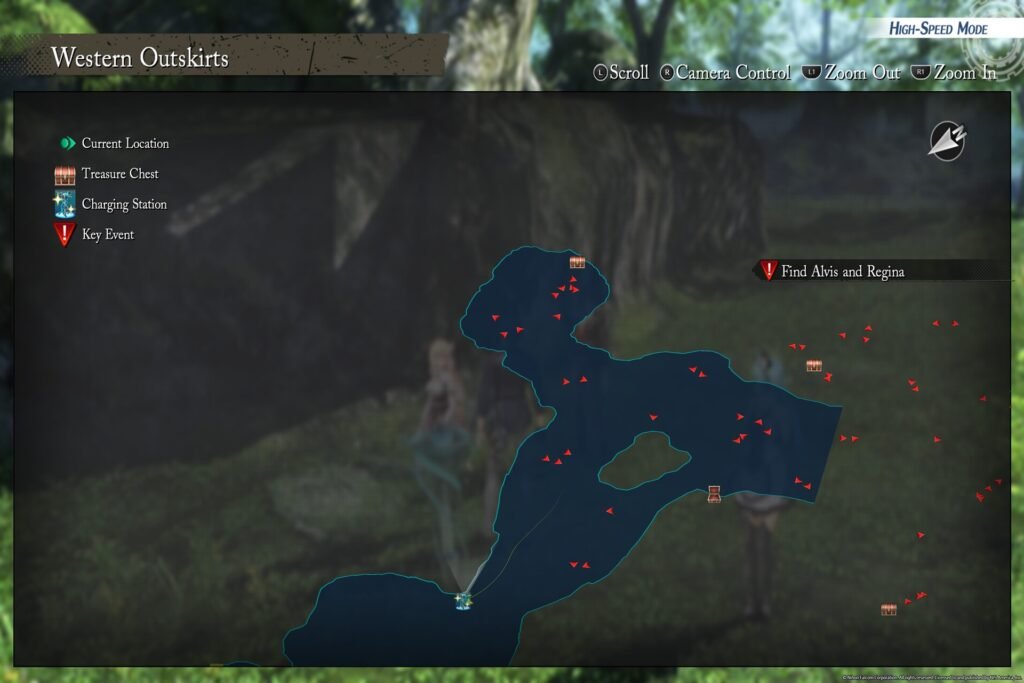
Before you make a save at the Orbment Station, go into your tactics menu and set everyone (including Van) to Defend under the Field section. This will keep you from having to do it every time, just in case you have to retry.
Don’t worry if you’re already past this location, as you do return here once more, a little later in the story, for a 4SPG mission.
Steps to Get 4.0 Tactical Bonus in Trails Beyond the Horizon
Fortunately, the Orbment Station is a straight shot from the area we will be doing this, so you can just run there without running into other enemies.
I did all of this on Easy difficulty for Field Battles and Very Easy for Command Battles. It’s possible you can nudge these up a level to increase enemy health, but I didn’t need it.
You don’t have to follow the order of these steps verbatim, but you do need to accomplish everything in them at some point before the very last step.
- Run towards the group of blue Sky Sheep to the right of the gazebo and immediately dodge their attack(s) to activate a SCLM Charge (which includes the Charge Attack condition).
- Switch characters and attack only once.
- Hold R3 and activate ZOC.
- Hit an enemy with a Quick Art usage.
- Stun an enemy and immediately activate shards to start a Command Battle.
- EX Chain attack (L1) the stunned enemy.
- Activate ZOC (L1 twice) and hit an enemy with an art they are weak to.
- Use your follow-up turn to start working on the three SCLM Chain attacks. Make sure that two attacks have the BLTZ label at the top of the screen.
- Swap out a character using L2.
- Use a Shard Command (L3).
- Open Crafts (R1) and maneuver around until you see the BACK or SIDE label directly on a targeted enemy. I used Aaron’s Phoenix Barrage as it only targets a single enemy and is easy to get it to count as BACK.
- Use three items. It doesn’t matter what or on which character.
- Use an S-Craft to finish off the final four (or more) enemies at once. This part is crucial, and if there aren’t at least four left, you’ll have to restart.
With all of this, I got x4.0 directly, but there are a couple of things I didn’t do that could’ve served to make up for any slip-ups. The biggest would be ensuring a higher hit combo. I only achieved a 20-hit chain, which was worth 0.2, but a 50-hit would get 0.5 and should be doable if you use Cataract Wave or a similar art with high hits per enemy.
You can definitely follow these steps anywhere you can gather seven or more enemies, but it’s something that I was happy to have out of the way as soon as possible.